Anyway,
since my nails are pretty plain now, I thought I would share a mani I did a few
weeks ago. It’s a little brighter than what I normally do, but I have to say I
received a lot of compliments on this one and I was pleased with the results. I
used a gradient technique for the background which for me, takes FOREVER to do
because it’s a bit messy, but the end result was worth it.

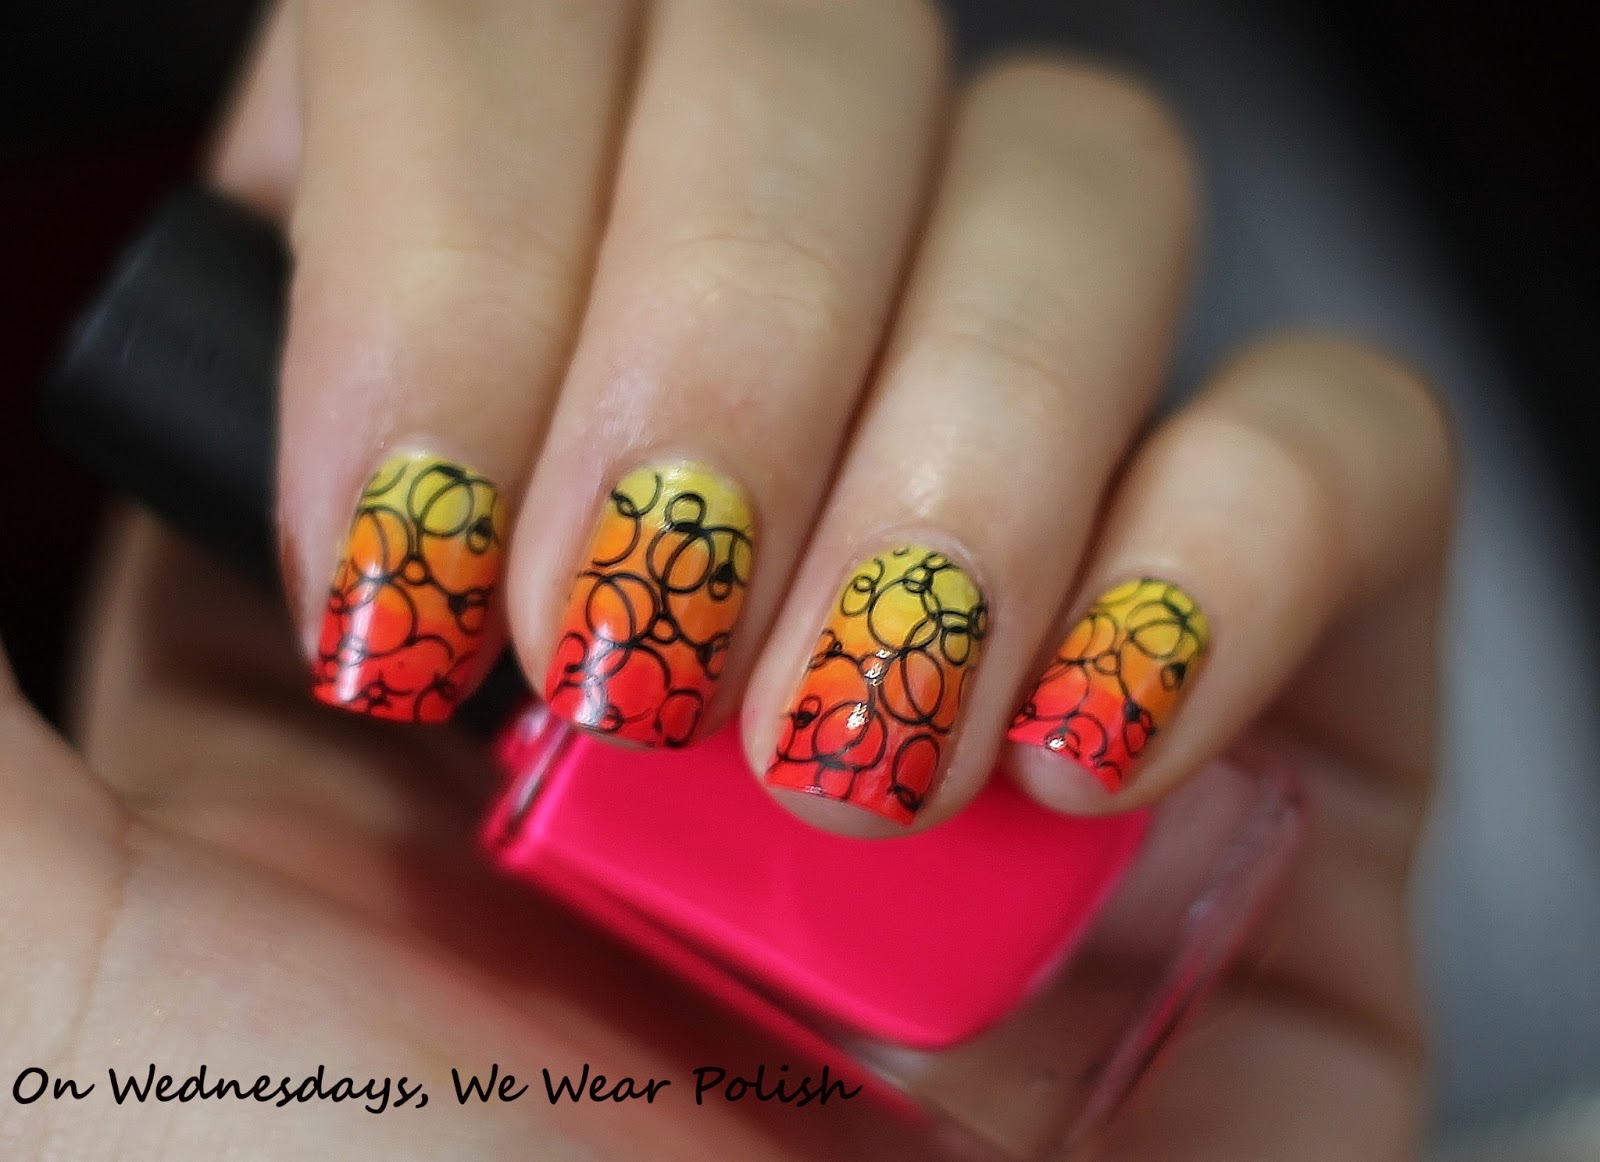
For the gradient I used Color Club Warhol (pink), China Glaze Sunshine Pop (yellow), and Sally Hansen Hard as Nails Sun Kissed (orange) (Learn how to do a nail gradient by clicking the YouTube link attached to the word “gradient"). In general, when doing a gradient you should first paint your entire nail with the lightest color you are using (that way darker colors you are using show up better). So first, I painted my nail yellow and let that dry completely (If you do not let your base coat dry completely, when you try to sponge on the other colors, some of your base coat might come up and stick to the sponge). Then I sponged the three colors onto my nail moving the sponge up and down a bit so that the colors would blend well. Then I painted a layer of Seche Vite and once that dried, used Konad’s black polish and Mash Plate, Mash-43 to create the bubble pattern. By stamping the bubbles over the top coat, I was able to achieve a glossy finish for the gradient and a sort of matte finish for the bubbles. I think the combo of glossy and matte came out kind of cool.

For the gradient I used Color Club Warhol (pink), China Glaze Sunshine Pop (yellow), and Sally Hansen Hard as Nails Sun Kissed (orange) (Learn how to do a nail gradient by clicking the YouTube link attached to the word “gradient"). In general, when doing a gradient you should first paint your entire nail with the lightest color you are using (that way darker colors you are using show up better). So first, I painted my nail yellow and let that dry completely (If you do not let your base coat dry completely, when you try to sponge on the other colors, some of your base coat might come up and stick to the sponge). Then I sponged the three colors onto my nail moving the sponge up and down a bit so that the colors would blend well. Then I painted a layer of Seche Vite and once that dried, used Konad’s black polish and Mash Plate, Mash-43 to create the bubble pattern. By stamping the bubbles over the top coat, I was able to achieve a glossy finish for the gradient and a sort of matte finish for the bubbles. I think the combo of glossy and matte came out kind of cool.

If anyone
has any questions on how to do a gradient or how I did this mani, feel free to
write me a question in the comments section!
Color Club – Warhol
China Glaze – Sunshine Pop
Sally Hansen Hard as Nails - Sun Kissed
Sally Hansen Hard as Nails - Sun Kissed
Mash-43 - Bubbles
I just want you to do my nails for me. Learning is too much work ;)
ReplyDelete:)
ReplyDeleteI agree with Nancy
ReplyDeleteOhhhhh, this is GORGEOUS!!! I love how you used the technique! I sense a new blog follower for you... ;)
ReplyDelete